-
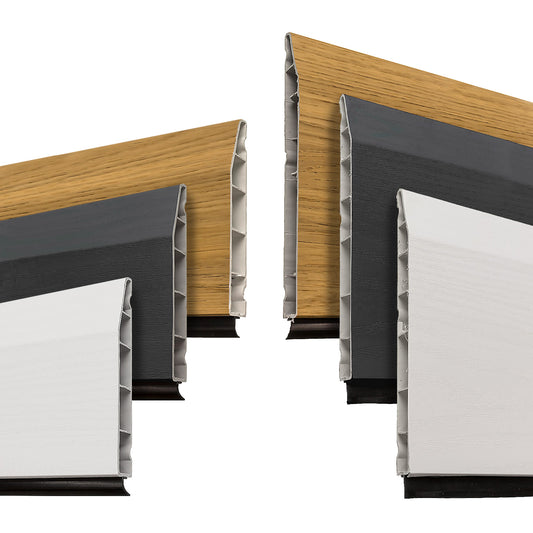
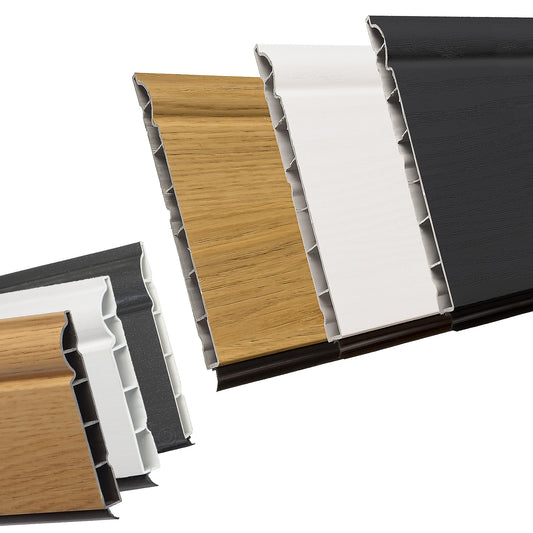
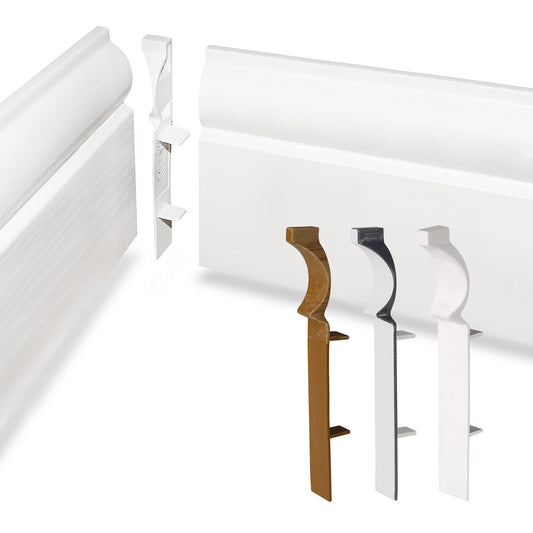
Chamfered uPVC Skirting Board (5m)
Regular price From £16.00Regular priceUnit price per -
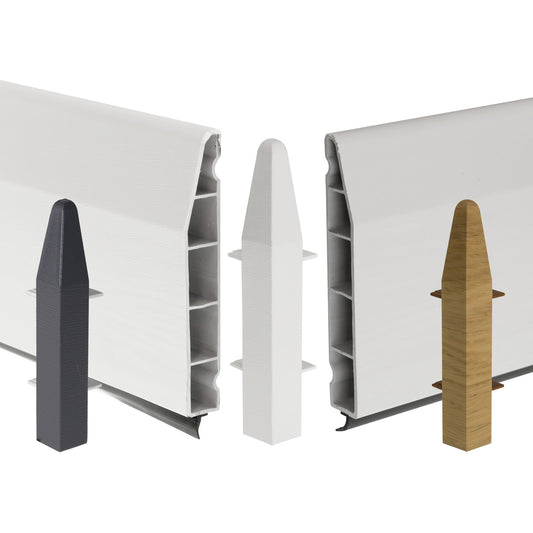
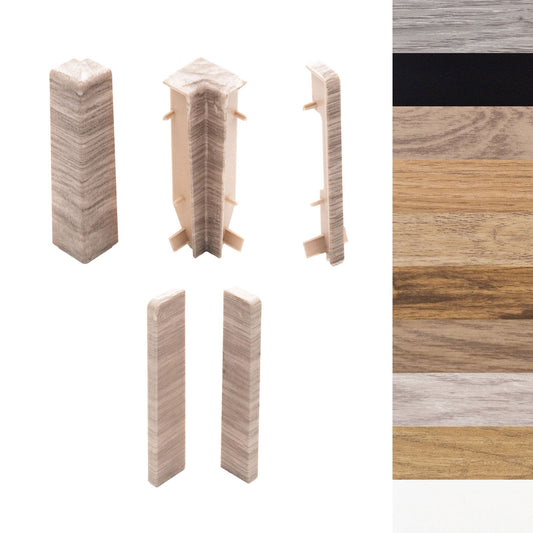
100/150mm Chamfered Skirting 90° Int. Corner
Regular price £3.53Regular priceUnit price per -
100/150mm Torus Plastic Skirting Board (5m)
Regular price From £16.00Regular priceUnit price per -
100mm Chamfered 90° External Corner Joint
Regular price £3.10Regular priceUnit price per -
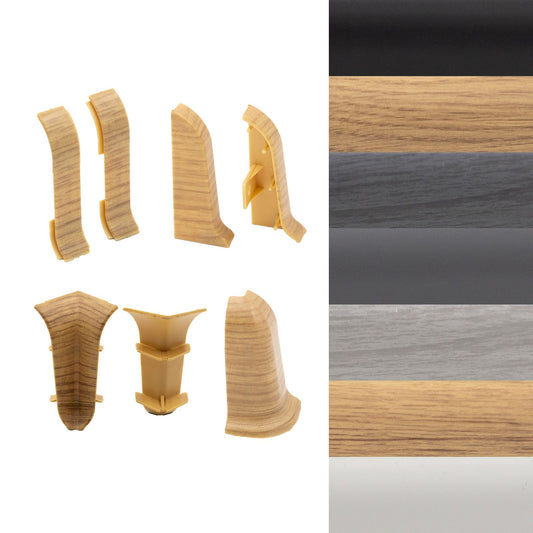
100mm Torus Skirting 90° Internal Corner
Regular price £2.90Regular priceUnit price per -
100mm Torus Skirting 90° External Corner
Regular price £3.10Regular priceUnit price per -
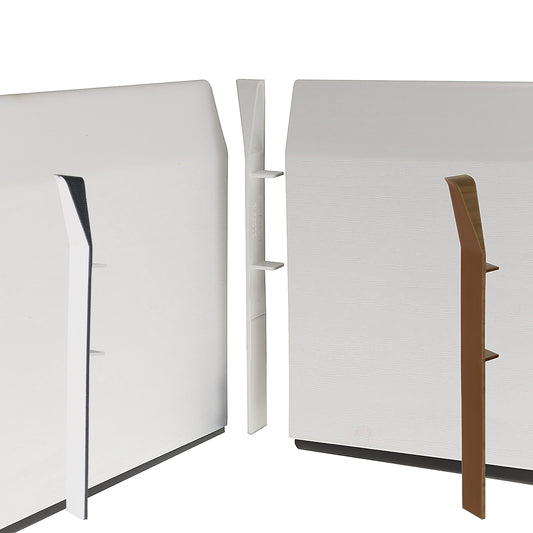
Roomline Skirting Board Inline Joint
Regular price £1.66Regular priceUnit price per -
150mm Torus 90° External Corner Joint
Regular price £4.42Regular priceUnit price per -
150mm Torus 90° Internal Corner
Regular price £3.53Regular priceUnit price per -
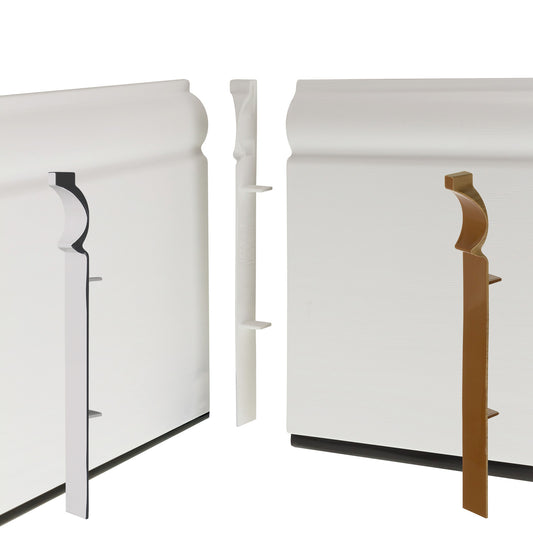
Premium Classic Skirting Trims
Regular price £1.20Regular priceUnit price per -
150mm Chamfered 90° External Corner Joint
Regular price £4.42Regular priceUnit price per -
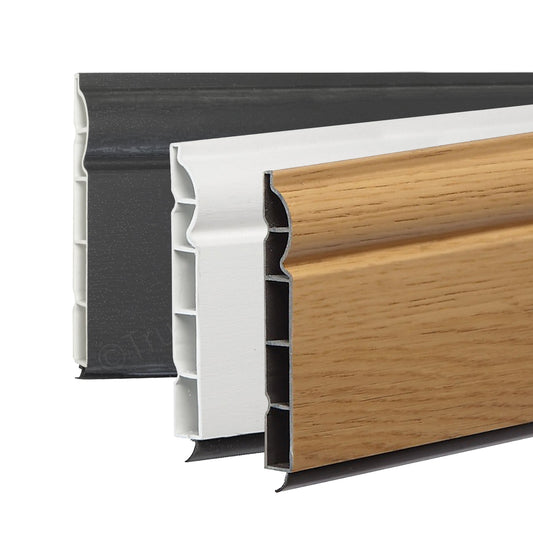
100mm Torus Skirting Board (2.5m)
Regular price £9.16Regular priceUnit price per -
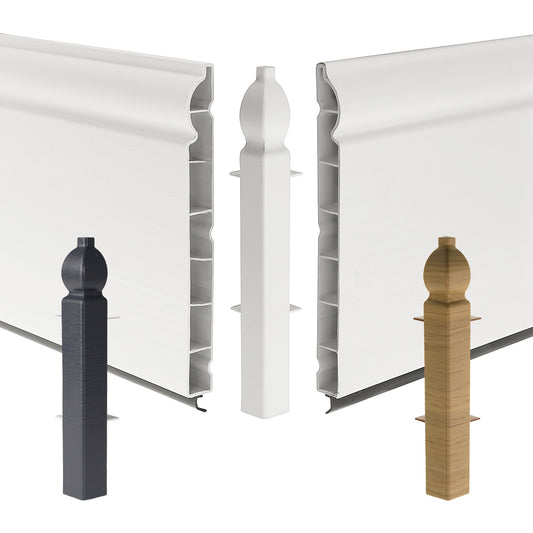
MasterLine Skirting Board Trims
Regular price £1.68Regular priceUnit price per -
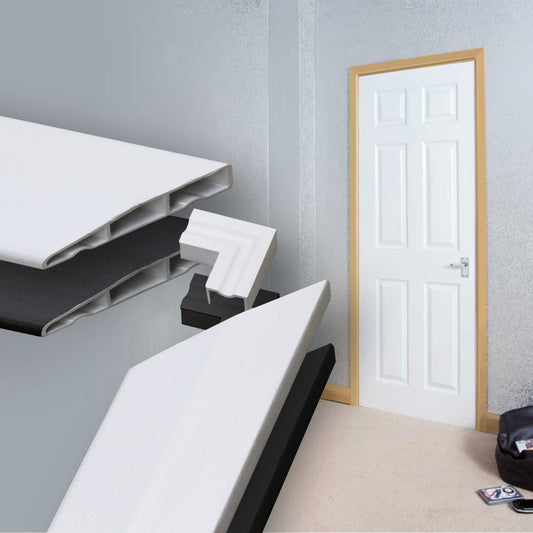
Roomline Chamfered Architrave Door Set
Regular price £26.11Regular priceUnit price per -
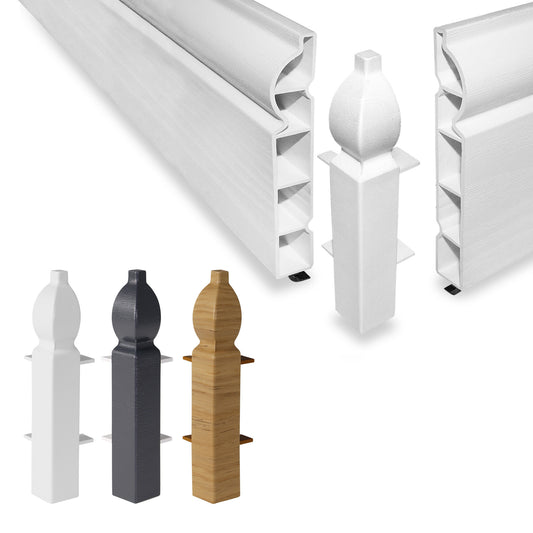
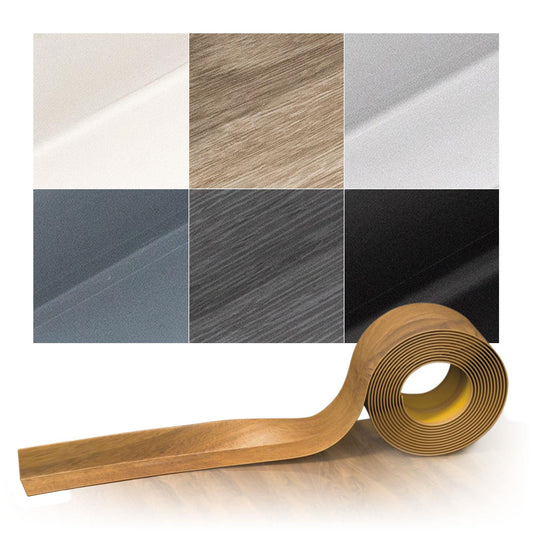
Cezar Flexible Skirting Tape
Regular price From £0.50Regular priceUnit price per -
100mm Chamfered Skirting Board (2.5m)
Regular price £9.16Regular priceUnit price per